**I wrote this post a few weeks ago,around 3/08/13 but once again, fell behind with all the things I was doing at the time & it never got posted. So I'm finishing it today to get it posted & done with! :-)
***********************
Yep, I'm still at it!
I know, I know, ya'll are saying "Stop it Already!".
But it's gotta be done.
Then we all can sleep better at night.
So over the weekend, I maintained my clearance lights.
When they rebuilt the overhead cab, you would have thought that "maybe" they'd put on new lights? Or at least be sure they all worked??? Nope.
So it was bothering me that 2 of them were burnt out. It also bothered me that I saw dirt building up under the covers of both front & rear lights.
So I went to work. Of course, when I had the overhead leak again, I panicked. Imagine that huh?
I put duct tape over the tops of all the clearance lights! Perhaps I went overboard, but leaks will put you into panic mode & make you do things like that.
The duct tape left residue. Sigh...
Light cover with residue - bottom light cover.
Residue all cleared off! It wasn't a hard job. I used some remover & it worked well. Goo Gone I think is what it was.
I had one light on the front that was too corroded to work. That bothered me. I'm a stickler for things like that. Could I have just left it as is? Sure. Texas doesn't inspect those, but it's one of those things that with me, everything has to work!
So I rewired it.
I then took off all covers, cleaned them, cleaned the bases & returned the covers. Checked to be sure that all lights were working, then I caulked around all of them. Front, rear & side clearance lights. Done! Yay! DONE! I say, DONE! For at least another year or so :-) I even caulked around the seals on the covers, not just around the bases. When I noticed how much dirt built up under the covers, that alerted me that moisture was probably getting in there too. So I wanted to cover all bases & I did.
New caulk lined around the cover & the base to be sure to protect any moisture from penetrating.
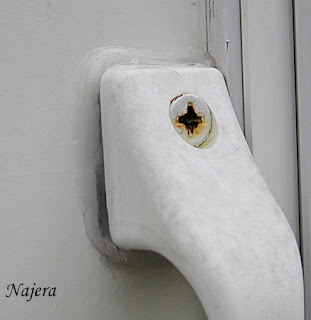
Since I had my caulk out still, I also cleaned the old caulk off of my door handle & my exterior electrical outlet. I replaced that outlet last year. The old one was white & really weathered, just waiting to crumble at the slightest touch. It was an easy replacement though.
I use exterior outdoor clear silicone caulk, but I wonder sometimes if I should use the white caulk instead. I'm never sure which to use, but I kind of like the clear as it's just a cleaner look.
Below is a video of my step by step process of redoing the clearance lights if you are interested:


I am so impressed by your abilities. You just take a job and go at it. A great quality in a person. Your little home must just be so proud being all spruced up.
ReplyDeleteHi Tammy, it's maintenance, which needs to be done. If not, there's a price to pay. But I'll admit that I do like working on my RV :-)
DeleteToday, I changed out the gaskets on the roof vents - I'll blog about that too when I get the time to get it all together.
Another job well done. I'm so glad you went away so you could take a break. :)
ReplyDelete